
General Saturn/Outworld Assembly
This is a step by step assembly guide for S1-S6 size outworlds.
Please note that each size may have slightly more or less fixings but the process is exactly the same.
Some may find this video useful for assembly or follow the step by step guide below the video
Older Generation 2 instructions:
Unboxing
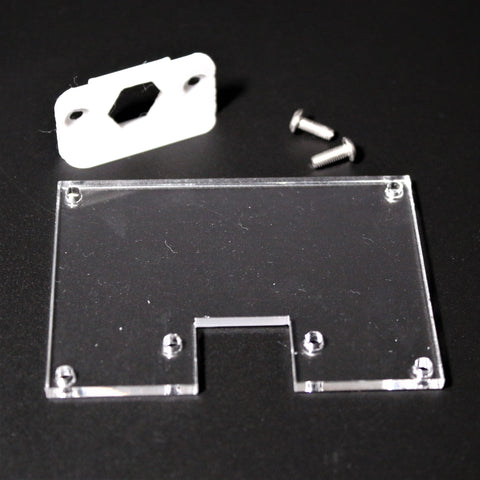
Package contents:
2 x Side panels
1 x Back panel
1 x Front panel with port cut out
1 x Base panel
1 x Top panel with lid cutout
1 x Lid panel
1 x Lid Surround
1 x Fixing pack including Screws, Hex Allen tool and port parts
UPDATE - 1 x plastic tool to easier hold the corner fixings (looks like a feeding dish and can be used as one after)
(S4-6 sizes will contain 2 accessory pillars)

Prepare for assembly
Please check each panel and remove any hole cutouts left from the laser cutting process. This is easily done by lightly pressing them out using the provided hex tool.

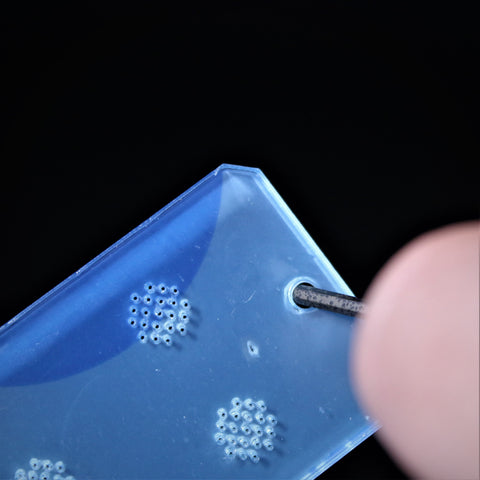

Next remove the protective film from both sides of each acrylic panel.

Step 1 - Port Assembly
Please note it is important not to over-tighten any screws, as this can thread the fixings. Incase this does happen by mistake, an extra fixing is provided.

Gather 2 screws and the large port part. Screw on the clear viewing lid.


Step 2 - Front panel assembly
Gather the front panel, 2 screws and the smaller port part.

Then press the port part into place and screw the screws into place.

Next is to connect the port to the front panel.


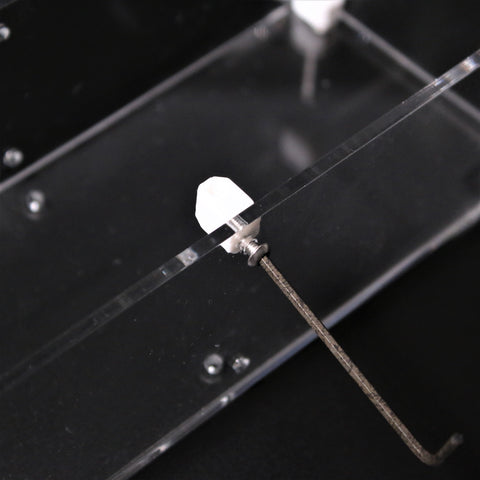
Once this is completed gather 4 of the corner fixings. These will have 3 holes.


Hold the corner fixing while screwing into place.
UPDATE - Now shipping with 1 x plastic tool to easier hold the corner fixings
The 90 degree corners should match with the panel as shown below.


Step 4 - Back panel assembly

Gather 4 more corner fixings, 4 screws and the back panel. This will be the same size as the front panel but will not have a port cut out.

Repeat the same process as the front panel for the corner fixing assembly.

Step 5 - Side panels

Take one of the side panels and 4 screws and told this in place as shown below.

Screw into the corners of the back panel as shown above. TIP: It is always recommended to hold the fixings when inserting the screws.


Repeat the same process for the front panel.

Once this is complete, flip over and repeat for the other side panel.
Step 6 - Base panel

Place the item top down and rest the base panel on top. Then apply screws to the 4 corners as shown above.
Step 7 - Side fixings (S1 Size outworlds skip this step)

Gather all side fixings (fixings with 2 holes). These are soon to be applied to all sides that require extra support. larger outworld will have more than show on this module but the process is just repeated for all of them.


Some fixings can be tricky to hold due to location. If the fixing seems difficult, screw in only half way and then screw the other side. This will hold the fixing in place so they can both be fully tightened easier.


Once all the side fixings are completed flip the module over exposing the open top. Now is a good time to place in any larger items such as rocks/decor that might not later fit via the lid.

If you have a S4-S6 outworld this is also a time to install the accessory pillars by screwing these in from the bottom. Ensure the outworld size is at the top.
Step 8 - Top panel

Place the lid on top and insert any remaining screws to fully seal the unit.
Step 9 - Lid assembly

Finally position the lid panel on top of the lid part and screw together.

Congratulations. Your outworld is fully assembled.
Enjoy!